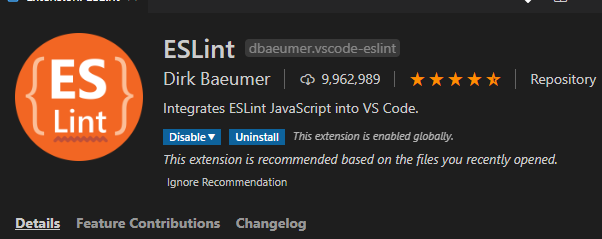
Steps on how to integrate ESLint on VS Code
Before integration one will have to install ESLInt by opening the Extensions from inside the VS Code. You can also install it from Visual Studio Marketplace
After installation you will have a view like this

Now we will open the terminal and as I am doing a workspace install, we will install it as
1
npm install eslint
for a global install, please append ` -g` to the command. Next step will be to initialize the linter
1
eslint --init
The config will ask you these question during this init phase.
- How would you like to use ESLint? · To check syntax and find problems
- What type of modules does your project use? · esm(Javascript module)
- Which framework does your project use? · none
- Does your project use TypeScript? · No / Yes
- Where does your code run? · browser
- What format do you want your config file to be in? · JSON
These are the values I set as my project is an angular-typescript project that runs on a browser.
As this was my primary installation, I was prompted by the init to add more dependencies.
1
2
3
4
5
Local ESLint installation not found.
The config that you've selected requires the following dependencies:

@typescript-eslint/eslint-plugin@latest @typescript-eslint/parser@latest eslint@latest
√ Would you like to install them now with npm? · No / Yes
Once I allowed the installation with npm, they added the dependencies and created a .eslintrc.json for me like this.
1
2
3
4
5
6
7
8
9
10
11
12
13
14
15
16
17
18
19
20
{
    "env": {
        "browser": true,
        "es2020": true
    },
    "extends": [
        "eslint:recommended",
        "plugin:@typescript-eslint/recommended"
    ],
    "parser": "@typescript-eslint/parser",
    "parserOptions": {
        "ecmaVersion": 11,
        "sourceType": "module"
    },
    "plugins": [
        "@typescript-eslint"
    ],
    "rules": {
    }
}
If you want to set more rules, you can do so by visting the documentation
That’s all to the installations folks. Happy coding